

A solid-state drive (SSD) is one of the best ways to give a slow PC or Mac a new lease of life by boosting startup speed, app load speed, and file transfer speed. Here's an SSD installation guide for setting up an SSD on your desktop or laptop computer, whether you have a SATA or NVMe SSD.
In case you ask yourself, "What do I need to install an SSD?" You will probably need the following: a suitable SSD, a screwdriver, your PC manual, and a clean workspace. If you are installing a SATA SSD drive, you may also need a SATA data cable and a drive mounting kit. Always make sure to back up important information before removing parts from your PC or moving drives.
Turn the power supply off; disconnect the power supply to your computer. Unplug the computer from electricity. Open the back or side panel of the casing (casing is any term for the box that holds all of the interior parts). You have to follow a few steps to do that according to the instructions of your case's maker.
2.5-inch Drive - SATA: Connect the drive to the correct bay. Plug the SATA data cable between the drive and the motherboard, and plug in the SATA power cable from the power supply. Secure both connections and close the case.
When connecting any plug, do not use undue force. In the event that the cable is not easily attached, ensure that it has the correct orientation and connector.
Check these before installation:
Depending on your setup, you can try to get additional cross-member clearance by adjusting the motherboard or computer manual.
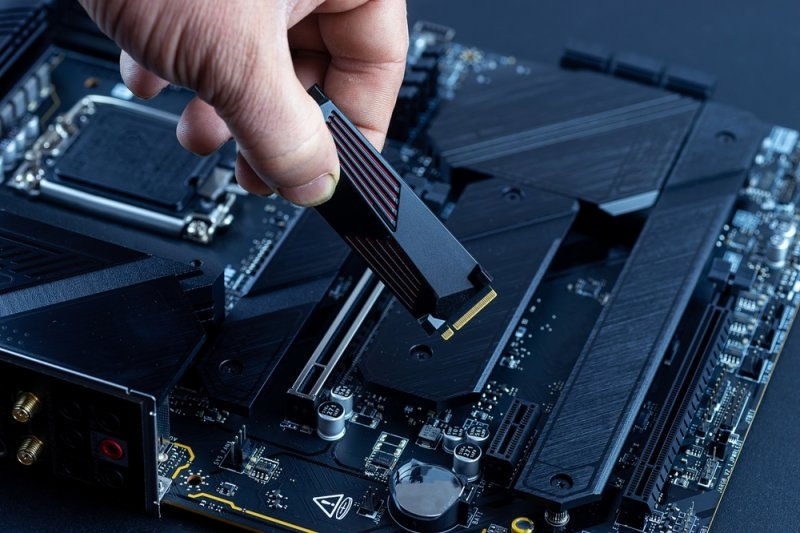
The answer to “How to Install an NVMe SSD” is quite different. Since the NVMe card goes directly into an M.2 slot, you don't need a SATA data cable. Locate the M.2 slot on your motherboard and remove the mounting screw or heatsink if needed.
Match up the notch on the SSD with the slot and tilt the drive into the connector. Carefully push the drive down to the mounting screw and tighten the mounting screw. Do not use excessive force to insert the connector or tighten the mounting screw. Replace the motherboard's M.2 heatsink if present.
To get the answer to how to install an SSD in a laptop, first read out the instructions from the manufacturer for your particular model. The layout of storage inside a laptop is not consistent, and some have accessible drive bays, while others require removing the bottom panel.
Power down the computer, unplug the power supply, and use the manufacturer's steps to open up the storage drive.
How to replace a laptop HDD with an SSD: When replacing an HDD with an SSD, you can also remove the old hard drive and attach any mounting bracket or connectors to the new drive.
The laptop SSD installation procedure should be referenced along with manufacturer instructions, as the internal design varies between models.
Most people looking for how to install an SSD and transfer Windows are also looking to retain their operating system, software, data, and files. Disk cloning can be used to copy everything on the existing drive to your new SSD, so you can upgrade to the new drive without the need for a clean install.
How to install an SSD without reinstalling: Windows should be your concern if you want to install a new SSD without Windows reinstallation. As for the previous working drive, attach it. Use a very trustworthy disk cloning program to clone your previous working drive, turn off your computer, and replace it with your SSD.
Check that Windows has loaded. Find and open your most important apps, and browse a couple of files to confirm that your new drive hasn't caused any issues.
Once the SSD is installed, you may want to prepare or upgrade your PC for this. The right way to add a new SSD after installing a cloned system drive needs to be checked before booting normally. If the new secondary SSD is not formatted and initialized, Windows may not recognize it for use.
Locate your new SSD in Disk Management. If it shows as unallocated, then initialize the disk if needed, then create the partition, assign a drive letter, and format. GPT is mostly used on current Windows systems that boot with UEFI.
Otherwise, if the drive isn't present, make sure it is correctly installed and supported. For NVMe drives, also check that your motherboard supports the M.2 interface you're using.
The easiest method to discover how to set up an SSD step by step is to divide the process into three phases: prep, install, and set up. Test compatibility and back up data. Install the SSD based on what type it is. Set up Windows and check that your new SSD drive is functioning properly.
No matter if you're just curious about “how to install an SSD in a PC,” "how to install an SSD in a laptop," or even “how to install an NVMe SSD,” don't hurry to do it. A connector or drive that does not fit should never be forced. Check the manual and compatibility information instead.
Learn Further: All About Cleaning PC Hardware to Keep the System Dust-Free
Installing an SSD is one of the best upgrades you can do for faster everyday computing. Select the appropriate drive, make sure you've backed up your data, and install your SSD correctly.
Whether you're doing an SSD upgrade, replacing the drive in your laptop, installing NVMe storage, or moving Windows, if you plan before you begin, you can avoid losing data and the pain of reinstalling. Once you are finished, verify your SSD and test it.
Most, if not all, SSD installs are DIY-able if you have the basic tools around. Desktop SATA and NVMe are very easy, most of them, so long as you're compatible, and laptop install is more tricky because of their different internal designs.
No, not always. The new drive might need to be formatted, partitioned, initialized, or given a drive letter for Windows to be able to use it as extra storage. Boot SSDs also have to be configured with the right boot order in BIOS or UEFI.
Yes, provided there are sufficient free slots/ports on your PC. The existing SSD can be kept as extra storage once you have tested that the new disk functions correctly. Be clear about which drive has Windows installed before making any changes or formatting the drive.
The SSD is not detected if incorrectly installed, not bootable, or has an incorrect connection. The drive may have become damaged by forcing connectors or screws into the drive bay. Never try to reinstall a drive without powering down the computer and checking that it is compatible.
Back up the data you want, confirm the SSD you purchased is compatible with your PC, gather the tools you need, and either clone or do a clean install of Windows. Do these before opening up your PC; the upgrade will go smoothly and safely.
This content was created by AI