

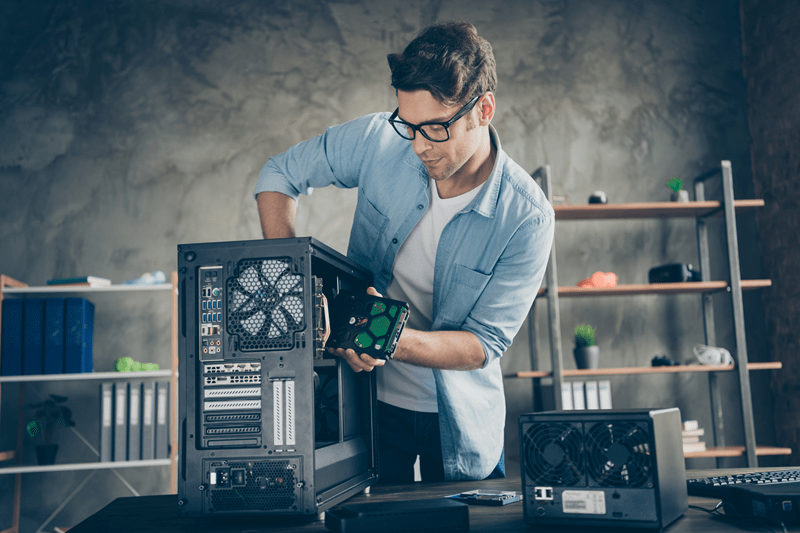
Everyone hits that moment. Apps drag, games stutter, the fan sounds tired. You do not always need a new rig; you need a plan, a small toolkit, and a calm hour at your desk. This guide maps a clear path from wish list to real speed so upgrades feel exciting instead of scary. We keep jargon light, steps precise, and mistakes easy to avoid.
Upgrades are tiny negotiations between parts, power, and time. Start by writing what bugs you most: slow boots, lag in timelines, frame dips, or a clutter of adapters. That list becomes your compass. Then check the basics: case space, power supply headroom, and current BIOS. Snap photos of cable routing before you touch anything. These little habits protect confidence while you chase build improvement that actually shows up on screen.
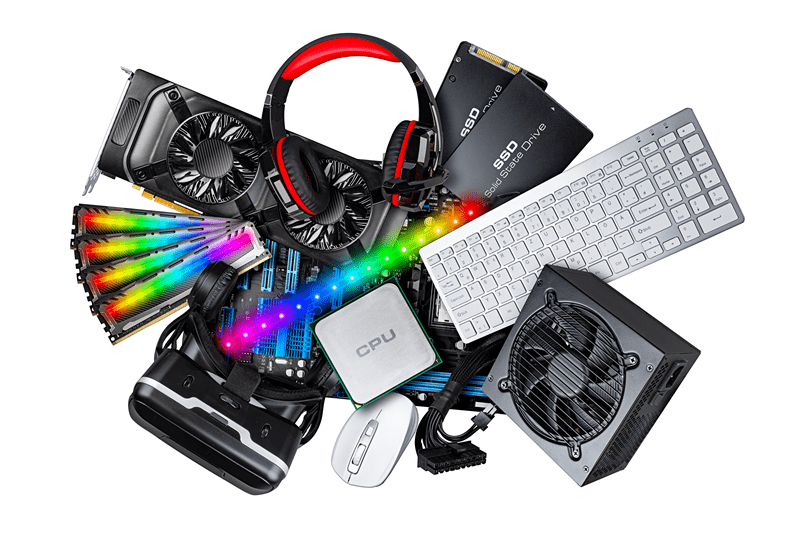
If your system crawls when launching apps, ssd replacement is the most dramatic fix per minute spent. Moving from a hard drive to NVMe feels like new hardware. When browsers bog down with many tabs, a ram upgrade smooths the day. If your games dip at 1080p or your edits render forever, a gpu swap puts muscle where you feel it. Pick one path, measure before and after, and enjoy the momentum.
Before you buy, verify socket, chipset, and firmware support. Confirm M.2 lengths, SATA ports in use, and clearance near heatsinks. Memory has quirks; match voltage and speed to the board’s qualified list when possible. Graphics cards need room and the right power connectors. A quiet evening reading your manual saves a loud afternoon of returns. Two minutes with a flashlight inside the case can prevent a week of delays driven by poor motherboard compatibility.
Power down, flip the switch on the supply, and hold the power button ten seconds. Touch metal to discharge. Back up your files and verify you can boot that backup elsewhere. Lay out a small tray for screws. Label cables with tape. If your desk is a jungle, move the tower to a clean table. Small rituals keep nerves steady and hands gentle.
Clone the current drive or prep a fresh install on a USB stick. Slide in the new SSD, secure it properly, and set it as the boot device. If you use SATA, move the cable to an active port that does not share bandwidth with other devices. NVMe drives appreciate airflow; peel only the protective film you must and leave the rest of the heatsink alone. Reboot and time the result. You should feel the lift immediately after ssd replacement, especially opening heavy apps or large project files.
Open the latches, align the notch, press until both sides click. Populate the correct channels for dual or quad mode; the manual shows the order. After boot, check that capacity and speed match expectations. If you see odd behavior, reseat sticks or test individually. Higher capacity helps multitasking; tighter timings help certain workloads. The right ram upgrade often erases stutter while streaming, editing, and browsing at once.
Uninstall old drivers, shut down, and remove the PCIe bracket screws. Lift the latch gently, seat the new card, and connect PCIe power leads firmly. Update drivers from the vendor, not random mirrors. Tweak fan curves and enable a simple frame cap to reduce heat spikes. Check power supply capacity; cheap adapters are not a plan. A careful gpu swap can double frame rates or unlock smoother previews in creative apps.
Dust is the quiet enemy. While the case is open, clean filters and fans. Route cables to clear the front intakes. Replace old paste on the CPU if temperatures seem high. Set a calm fan curve that climbs smoothly with load. Better airflow turns loud upgrades into quiet ones and protects parts over the long haul.
Update the BIOS only when needed for stability or new CPU support. For storage, turn on AHCI or the correct NVMe settings. Enable XMP or EXPO so memory runs at rated speeds. In Windows, disable startup junk you no longer need. None of this is flashy, but it finishes the job and locks in your build improvement.
Money is real; so is time. If you cannot do everything, pick the upgrade with the best daily impact. Storage first for old systems, memory next for heavy multitaskers, graphics for creators and gamers. Avoid buying parts you cannot use later. A well chosen power supply and case can serve across builds and make future changes painless.
Keep boxes and receipts. Test long enough to trust the new configuration before recycling old parts. If something smells odd or makes sounds that worry you, stop and check. New fans sometimes rub cables. Cards can sag; add a small support if needed. Your hands know when something feels wrong; listen to them.
No boot? Reseat cables and memory. One long beep? Check GPU power. Random crashes? Run memory diagnostics, then storage checks. Thermal throttling? Clean dust, open vents, and confirm fan direction. Treat each symptom like a clue, not a crisis. You will learn faster by changing one thing at a time and retesting.
Sometimes the best upgrade is the runway for future parts. An efficient power supply and a breathable case add stability, cleaner cabling, and nicer acoustics. They rarely wow, but they let every other change land smoothly and keep thermals in check during summer workloads.
Take fresh photos of the rebuilt interior. Save a copy of the stable BIOS profile. Log baseline temperatures and benchmark numbers. These become your new reference. When a friend asks for help, you now have a simple playbook. Upgrades become a habit, not a gamble, and each change stacks onto the last.
Upgrading is not only about parts. It is about knowing why you want the change, checking fit, working methodically, and validating the win. Start with one clear goal, confirm parts, prepare the desk, and move slow. Keep your manual open and your head cool. After a few sessions, you will treat upgrades like cooking a familiar recipe.
Finally, enjoy it. You built a faster, calmer machine by your own hands. That feeling is the real upgrade.
This content was created by AI