


When your computer suddenly goes blank, that is a frightening moment. You may feel the need to panic and call for expensive assistance, but many common issues have relatively simple solutions. With some time and the proper mindset, performing your own DIY PC repair can be a satisfying and worthwhile project. This guide will provide you with the essentials, from using diagnostic tools to swapping a fragile component. It will even detail common motherboard issues and how messy wired connections can create significant problems.
You don't need to be a computer genius to fix a computer. You need a logical method and to approach everything in a calm and even-tempered manner.
Doing a DIY PC repair means you don’t always have to run to a shop when something fails. It helps you understand your machine better and identify problems before they escalate. You learn how each part works, from fans to drives to memory.
It’s not just about saving money—it’s also about control. Being able to change, clean, or repair your own components gives confidence. It also helps you catch motherboard issues early before they fry other parts. Most common repairs can be done at home with patience, some diagnostic tools, and care.
Every builder or fixer needs the right gear. When doing a DIY PC repair, the following tools are helpful:
What this really means is that these tools keep your PC safe while providing clear information about what’s wrong. It’s like a mini repair shop on your desk.
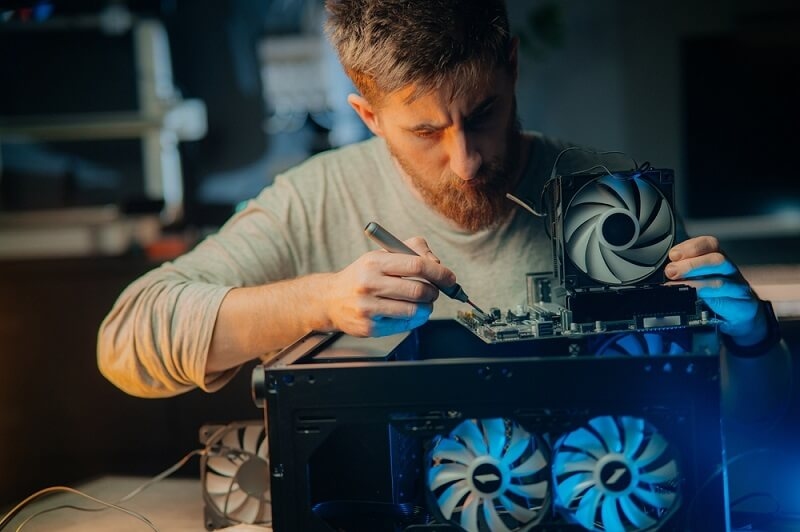
Replacing parts may sound technical, but it’s actually quite simple once you get the hang of it. When a part stops working, it’s often better to replace it than to attempt to repair it.
Could you start by identifying the part that causes the issue? For example:
When replacing a component, always unplug the system first. Take pictures before removing parts—they help remember where cables and screws go later. Handle everything gently, especially the motherboard.
Here’s the tricky part. Motherboard issues can manifest in various ways—blank screens, random restarts, or even a complete loss of power.
Messy cables cause more trouble than people think. Effective cable management keeps air flowing, prevents tangles, and facilitates more straightforward repairs in the future.
Here’s the thing—clean cables aren’t just about looks; they help the PC breathe.
Not every issue can be seen with the naked eye. That’s where diagnostic tools come in handy. These small gadgets help test parts without requiring the disassembly of the entire system.
Some useful types include:
Running tests helps find the root cause instead of just guessing. If your system crashes, loads slowly, or refuses to boot, diagnostics can point to the part that’s failing. It’s like a doctor’s checkup, but for your computer.
Building confidence in DIY PC repair starts with small wins. Here’s a simple fix guide to follow:
Following this order keeps the process calm and organized. What this really means is you fix smarter, not harder.
A working computer doesn’t stay perfect forever. Dust, heat, and time take their toll. Performing a quick DIY PC repair every few months helps keep it running smoothly.
Here’s what helps:
Even simple steps like these can prevent motherboard issues and hardware failure. The more often small checks are done, the less likely big repairs are.
Sometimes, despite effort, a PC won’t cooperate.
Knowing when to stop is part of smart DIY PC repair. It keeps you and your machine safe.
People often rush when reassembling their computers. But here’s something to remember—patience with cable management pays off.
Neat wiring helps with heat flow, looks cleaner, and makes troubleshooting easier. It’s a small effort that saves big headaches later.
After component replacement, don’t just discard old parts. Keep working parts stored in anti-static bags. Label them so you remember what has been tested and what has not.
This small habit turns into a parts library over time. When a friend’s PC breaks or your own needs a quick swap, those spare parts help fast. Good organization turns an average DIY PC repair into a smooth one.
Fixing your computer yourself is doable! Toting up all those parts to the IT service person—that's the worst. You can always start with some innovative diagnostics using the appropriate tools, rather than jumping to the worst conclusion. Approach common problems stepwise, screening for power problems or inoperative components.
Many small things, such as cable management, can save you from serious problems in the future. There are plenty of computer problems you can solve that will save you a lot of time—and money.
This content was created by AI