


Whether you're a gamer, a writer, or simply someone who types for hours every day, your keyboard is among your most important tools. Still, it's one of the most neglected when it comes to cleaning and upkeep. Dust, crumbs, skin oils, and pet hair all build up over time, making keys sticky, unresponsive, or even damaging internal switches. The good news? With a little regular maintenance, you can help keep your device in great shape with little time or money spent.
Let’s cover some of the easy mechanical keyboard tips to handle keycap cleaning, switch care, and a few DIY fixes that will go so far in long-term durability for your keyboard. Be it a regular old membrane keyboard or one from the high-end mechanical line, the following tips and cleaning habits for mechanical keyboards will keep every key click smooth and satisfying.
Most people have no idea how much dirt a keyboard collects. Indeed, studies have shown that an average keyboard may be dirtier than a kitchen countertop, sometimes even more so than the toilet seat. Besides hygiene, the debris also affects how well your keyboard works. A neglected keyboard might face some stuck keys, reduced responsiveness, and electrical issues.
With a basic keyboard cleaning routine, you will:
It is not about being overly meticulous; it's about instilling those habits that will serve the device well for many years to come.
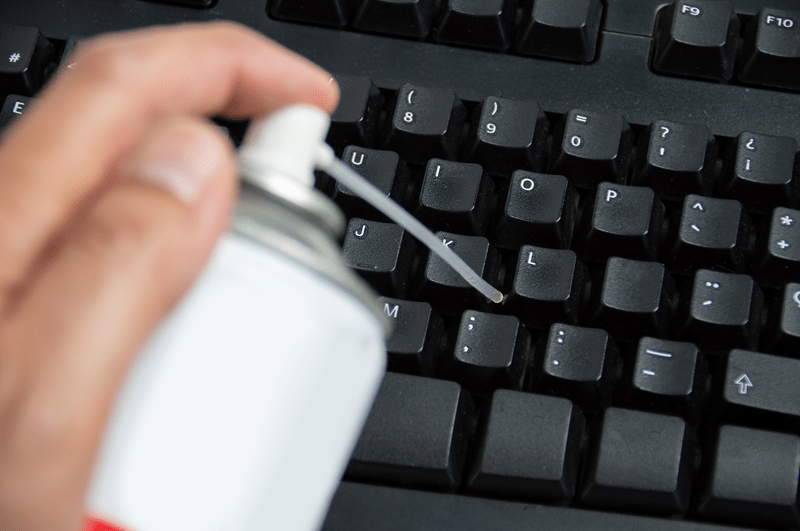
Of these tasks, the easiest is, of course, surface cleaning. For most end-users, this is, in fact, the basis of good keyboard maintenance.
Doing this once a week will dramatically improve the feel of your keyboard and cut down grime buildup.
Even when cleaned frequently, grime will accumulate below the keycaps, at least on mechanical keyboards. That's where cleaning the keycaps themselves comes in.
Gently pull off the keycaps with a keycap puller to avoid damaging the stems. Make sure you remember which goes where, or take a photo.
Regular cleaning of the keycaps will make your keyboard look new and prevent sticky or mushy keys. This will provide a good feel and smooth strokes with each typing for the mechanical keyboards.
Indeed, switch care is one of the most important areas of keyboard maintenance that usually goes unnoticed. Regardless of whether your keyboard uses membrane switches or mechanical switches, cleaning them ensures ongoing performance and a long life.
The interesting part comes out in mechanical keyboard tips:
Switch care directly impacts how responsive your keyboard is. The tiniest amount of buildup can result in keys feeling much heavier to type, or they simply may not register well at all. Regular maintenance lets you maintain consistency in your typing experience, either for gaming or work.
Get the right type of switch. Not all switches are created equal, and there are linear, tactile, and clicky switches with their unique feel. Picking one that fits your typing style will cut down strain and unnecessary wear.
Here are mechanical keyboard tips that will help you create better habits, which will make for quieter, smoother, more reliable long-term use.
Most problems do not require the service of a technician or a replacement for your keyboard; you can handle most minor issues yourself with a few simple do-it-yourself methods.
Such types of DIY repairs can actually be very effective in extending the long-term durability of your keyboard while saving you from costly repairs or replacement.
Your keyboard is more than just a tool for typing; it is your everyday companion. Keeping it in great shape does not require special tools or expensive cleaners. From regular keyboard maintenance to proper keycap cleaning and attentive switch care to simple DIY fixes, you can keep your setup responsive and clean and make it last several years.
Further, by taking on a few tips and creating some mechanical keyboard habits that will let you enjoy this for a long time, you aren't just improving typing performance-you're protecting the investment. A little attention every couple of weeks goes a long way to guaranteeing long-term durability that makes this keyboard a workhorse-whether you're coding, gaming, or simply writing your next chart-topper.
This content was created by AI