Heat is rude. It steals speed, shortens component life, and makes a good build sound like a hairdryer. The fix is not magic. It is planning, clean air, and habits you can actually keep. This guide walks through the choices that matter, so your machine stays fast and your room stays calm.
Start with goals. Keep temperatures stable, keep sound low, and keep service simple. That triangle guides everything else. Think of your case as a lung and your desk as a climate. Clear the front, lift the tower off carpet, and route cables so they are not a windbreak. A little intention here does more than a shopping spree. When you plan like this, the pc cooling system becomes a routine, not a ritual.
Air comes in cool, leaves warm. Intake fans belong where air is cleanest, usually the front or bottom. Exhaust lives at the back and top. Positive pressure, with slightly more intake than exhaust, helps keep dust from sneaking through cracks. Filters cut dust further, but only if you clean them. Mark the calendar. Five minutes with a brush can save a weekend of diagnostics.
Tower coolers still carry a lot of builds. They are affordable, easy to mount, and durable. Pick a heatsink with enough mass and a fan that ramps smoothly. Orientation matters. Point the fan so air passes through the fins toward the rear exhaust. Pair with a case that has room to breathe. If you overclock lightly or just want quiet, this path is terrific.
Tidy cabling around the cooler so hot pockets do not form. Replace the paste every couple of years. Check mounting pressure if temperatures drift. Small, dull tasks add up to big stability.
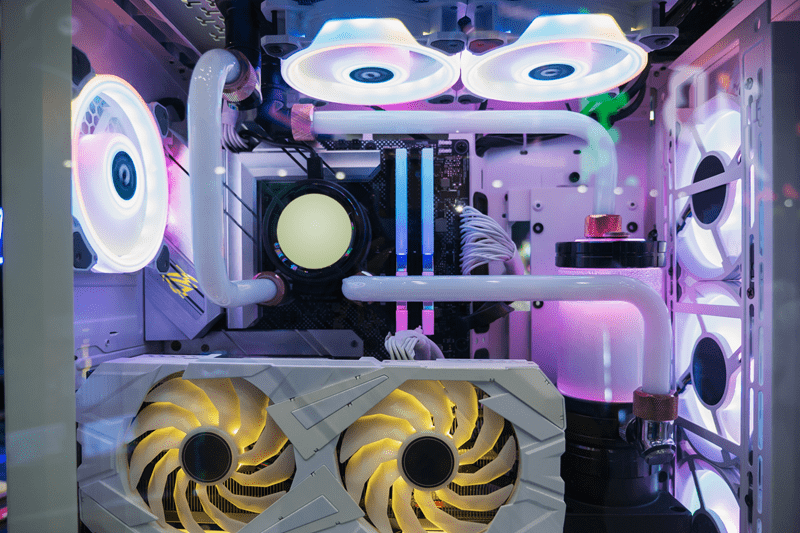
All in one loops simplify liquid. Mount the radiator where it gets fresh intake and where hoses rest without strain. Top or front works; just avoid trapping the pump higher than the radiator ports if you can. Set a gentle fan curve so the system does not yo yo when a browser tab spikes. If you edit video or game long hours, a larger radiator shares the heat quietly across more surface area.
Liquids need an eye now and then. Listen for gurgles, watch for seepage, and keep dust off the fins. Most issues are solved with patience and a screwdriver.
Do not buy with pride. Buy with need. If your chip runs hot, space is tight, or you love the look, closed loop liquid helps. If you value simplicity and price, air rules. The truth in liquid cooling vs air is that both win in the right case. Measure your case. Check RAM height. Confirm clearance. Then pick the cooler that fits the geometry you actually own.
Fans move heat, not hype. Use a couple of solid intakes and a couple of exhausts instead of a forest of small spinners. A thoughtful fan setup starts with quality bearings and PWM control. Plot a curve that rises gently with CPU and GPU temps. Spikes are annoying to the ear and not helpful to the silicon. Label your headers so changes later are painless.
Balance matters. If front intakes feed the GPU, add a bottom intake to help. If heat pools at the top, raise the rear fan curve slightly. A good fan setup listens to the case, then nudges where needed.

You cannot manage what you do not measure. Use motherboard sensors, GPU telemetry, and a couple of stick on probes if you want to learn your case. Logical temperature control keeps targets steady rather than chasing tiny swings. Pull logs for a week, adjust curves once, then stop fiddling. If peaks are short and within spec, you are fine. If warm spots linger, improve intake, add a shroud, or move a cable bundle that blocks flow.
Dust is heat’s best friend. Filters, mats, and pets all conspire. Clean on a schedule and your numbers will stop creeping.
Sound is airflow plus vibration. Heavier panels and rubber grommets help, but layout does more. Give fans straight paths. Decouple spinning drives. Use larger fans at lower speeds. That is practical noise reduction without spending a fortune. Foam can tame tone, but do not choke vents. If your desk amplifies hum, slide a mat under the case and monitor feet. Your ears will notice right away.
Once a month, listen. If a new rattle appears, tap gently to find it. A loose screw is cheaper than a new cooler.
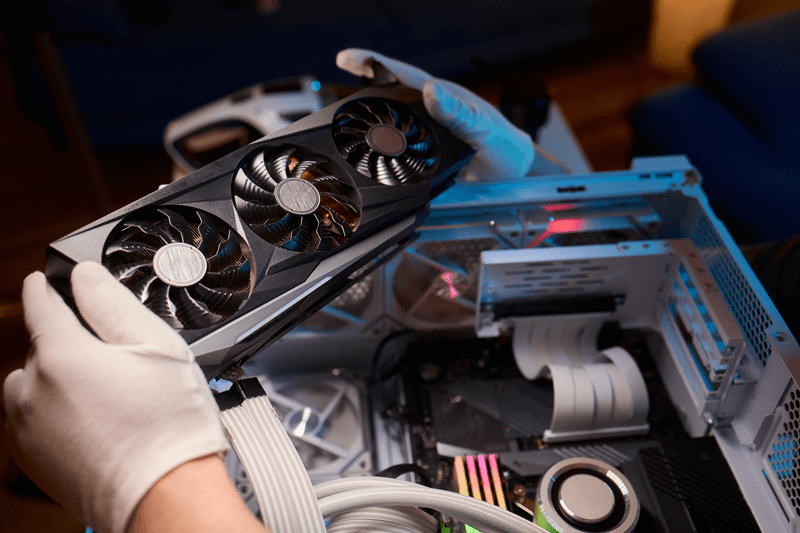
Stress tests are fine, but games, compiles, and renders tell the truth. Watch clocks and frame times while you work. When cooling is right, boosts last longer and stutters fade. Small wins stack. Fresh paste, smarter curves, and a clean filter lift pc performance more than flashy LEDs. If the GPU gasps in warm rooms, try a case panel with mesh and add a low, front intake that feeds the card directly.
Aim for stability first, then quiet, then pretty. The order saves hours and dollars.
Set dashboards that show CPU, GPU, and ambient in one glance. Save a screenshot when things behave so you have a baseline. Replace fans that start to tick. Swap a radiator fan that refuses to spin up smoothly. Keep spare screws and ties in a bag, because the one you drop will hide forever.
Cable management is kindness to future you. Air likes open lanes. So do your hands when you swap parts.
You can build cool and quiet on a budget. A decent mesh case, a capable air cooler, and four quality fans beat a flashy glass box every time. If you upgrade later, go bigger on radiator or add a quieter fan set. Do it in steps. Each change should cut a few degrees or a few decibels. Track results in a note so you learn what your case responds to.
If money is tight, start with cleaning and curves. Those are free wins today.
Air in from front and bottom, out from rear and top. Filters clean. Cables tucked. Fans named. Curves gentle. Paste fresh. Temps logged. Ears happy. With the pc cooling system dialed, upgrades feel safer. That is the whole point. Cooling that you forget about because it just works. Calm, steady, and dependable daily. Done.
This content was created by AI